CNC machining plays a pivotal role in modern manufacturing, ensuring that components are produced with exceptional precision and repeatability. However, achieving perfectly dimensioned parts is nearly impossible, highlighting the necessity of understanding CNC machining tolerances. Tolerances define the permissible variations in dimensions, establishing acceptable ranges for deviations from an ideal geometric form. This guide serves as a detailed resource for understanding CNC machining tolerances, exploring various types, inspection standards, and strategies for optimizing tolerances in your projects.
Key Considerations
– Comprehend the significance of CNC machining tolerances within the manufacturing process.
– Explore various tolerance types, including general, unilateral, bilateral, and limit tolerances.
– Gain insights into ISO standards like ISO 9001 and their role in defining tolerance limits.
– Identify key considerations for selecting appropriate tolerance levels based on materials, machining methods, and cost implications.
– Discover practical tips for achieving optimal tolerances in CNC machining to ensure component precision and functionality.
What Are CNC Machining Tolerances?
CNC machining tolerance refers to the allowable deviations from specified dimensions of a part. These tolerances establish the acceptable range of variation that does not impair the part’s functionality. For instance, if a component is designed with a nominal size of 50 mm and a tolerance of ±0.1 mm, the acceptable dimensions would range from 49.9 mm to 50.1 mm. Such minor variations are typically acceptable in most applications, allowing for slight imperfections while ensuring that parts function as intended.
The Importance of Tolerance in CNC Machining
Understanding and applying tolerances in CNC machining is vital for several reasons:
– Precision and Fit: Proper tolerancing ensures that parts fit together seamlessly in assemblies. Even minor deviations can lead to misalignment, resulting in functional failures.
– Quality Assurance: Tolerances set a threshold for quality, ensuring that produced parts meet specifications consistently. This helps maintain high standards across production runs.
– Cost Control: Stricter tolerances often lead to increased production costs due to the need for more precise tooling, extended machining times, and enhanced quality control measures. Establishing appropriate tolerances enables manufacturers to balance precision with cost-effectiveness.
– Material Selection: Different materials react uniquely during machining. Appropriate tolerances accommodate material-specific behaviors, ensuring consistency and reliability across production batches.
Types of CNC Machining Tolerances
Several types of tolerances are applied in CNC machining, each serving specific purposes based on the part’s design and function:
- General or Standard Tolerances
General tolerances are applied to dimensions that are not explicitly detailed in design specifications. These tolerances are typically governed by quality management standards, such as ISO 9001, which emphasizes consistent quality in manufacturing processes, including the management of tolerances.
– ISO 9001 establishes a framework for quality management systems, ensuring that organizations maintain consistent quality across all operations, including machining. By adhering to ISO 9001, manufacturers can implement processes that define acceptable tolerances for both linear and angular dimensions, thereby enhancing product reliability.
– While ISO 9001 does not specify tolerances in the same way as ISO 2768, it emphasizes the importance of documenting and controlling specifications throughout the production process. This includes establishing guidelines for tolerances that ensure parts meet functional requirements while allowing for reasonable variations.
By implementing ISO 9001 standards, manufacturers can streamline their design and production processes. This reduces the need for excessive specification details and enhances overall quality assurance, ultimately leading to lower rejection rates for parts. The focus on continuous improvement within ISO 9001 also encourages organizations to regularly evaluate and refine their tolerance standards, ensuring they meet evolving industry needs and customer expectations.
- Limit Tolerances
Limit tolerances specify the maximum and minimum acceptable sizes for a part. For example, if a dimension is designated as 12 ± 0.05 mm, the part must fall between 11.95 mm and 12.05 mm. This tolerance type is commonly employed where high accuracy is essential, such as in mating components.
- Unilateral Tolerances
Unilateral tolerances allow deviations in only one direction from the nominal dimension. For instance, a specification of 70 +0.00/-0.05 mm means the part can measure between 70 mm and 69.95 mm, but cannot exceed 70 mm. This type of tolerance is crucial for components fitting into predefined spaces where exceeding nominal dimensions could cause issues.
- Bilateral Tolerances
Bilateral tolerances permit deviations in both directions from the nominal dimension. An example would be 30 ± 0.05 mm, allowing measurements anywhere between 29.95 mm and 30.05 mm. This type of tolerance is commonly used in general manufacturing where small variations in both directions are acceptable.
Key Considerations When Selecting Tolerances
Selecting the appropriate tolerance level is critical for achieving a balance between cost, manufacturability, and performance. Here are key considerations:
– Cost Implications of Tighter Tolerances: Stricter tolerances often lead to higher production costs due to the need for precise machining, lower speeds, specialized tooling, and stringent quality control. Tolerances should be as relaxed as possible while still meeting functional requirements.
– Material Properties: Different materials exhibit varying behaviors during machining. For instance, softer materials like plastics may deform during processing, while harder materials such as steel can wear down cutting tools, complicating the attainment of tight tolerances.
– Machining Methods: The chosen machining method can significantly impact achievable tolerances. For example, Swiss machining can yield very tight tolerances on small, multi-featured parts without requiring secondary operations, whereas milling generally provides tighter tolerances than turning.
– Inspection and Quality Control: Parts with tighter tolerances require more comprehensive inspection processes, often necessitating advanced measurement techniques using coordinate measuring machines. This adds to both cost and time, underscoring the need for a practical balance between precision and inspection feasibility.
Tips for Achieving Optimal Tolerances in CNC Machining
Achieving the right tolerances in CNC machining requires careful planning, the use of appropriate tools, and precise execution. Here are practical tips to optimize tolerances:
- Understand the Application: Not all parts necessitate tight tolerances. Assess the part’s function to determine the level of precision required. For example, cosmetic components that do not interact with other parts may not need the same tolerance level as functional or mating components.
- Choose the Right Material: Consider the machinability of the material and its response to machining conditions. Metals generally allow for tighter tolerances than plastics but may require more robust tooling and setups.
- Utilize High-Performance Tools: Tool selection plays a crucial role in maintaining tolerances. Ensure cutting tools are sharp, well-maintained, and appropriate for the material being machined. Carbide tools, for instance, are ideal for hard materials due to their durability and ability to maintain a sharp cutting edge.
- Maintain Workpiece Stability: Securely clamping the workpiece using stable holders prevents relative movement, which could compromise accuracy. Proper support minimizes vibrations and deflections during machining.
- Control the Machining Environment: Fluctuating environmental conditions, such as temperature and humidity, can affect machining precision. For instance, thermal expansion in metals can lead to dimensional changes. Maintaining a controlled environment contributes to consistent results.
Common Challenges in Achieving Tight Tolerances
Despite meticulous planning, achieving tight tolerances in CNC machining can present challenges:
– Thermal Expansion: The heat generated during machining can cause materials to expand, complicating efforts to maintain tight tolerances as parts cool.
– Tool Wear: Continuous use of cutting tools can lead to wear, resulting in dimensional inaccuracies. Regular inspection and timely replacement of tools are essential for maintaining precise tolerances.
– Vibration and Deflection: Vibrations during machining may cause deviations from intended specifications. Employing dampening methods and securely clamping workpieces can mitigate these effects.
Conclusion
CNC machining tolerances are integral to precision manufacturing, determining how closely dimensions can adhere to design specifications. A thorough understanding and careful selection of tolerances are vital for ensuring part functionality and maintaining quality while controlling costs. By considering material properties, machining methods, and inspection necessities, manufacturers can achieve optimal tolerances, enhancing efficiency while minimizing expenses. Whether your project requires tight tolerances for critical components or looser tolerances for general parts, thoughtful tolerancing is essential for success in any CNC operation.
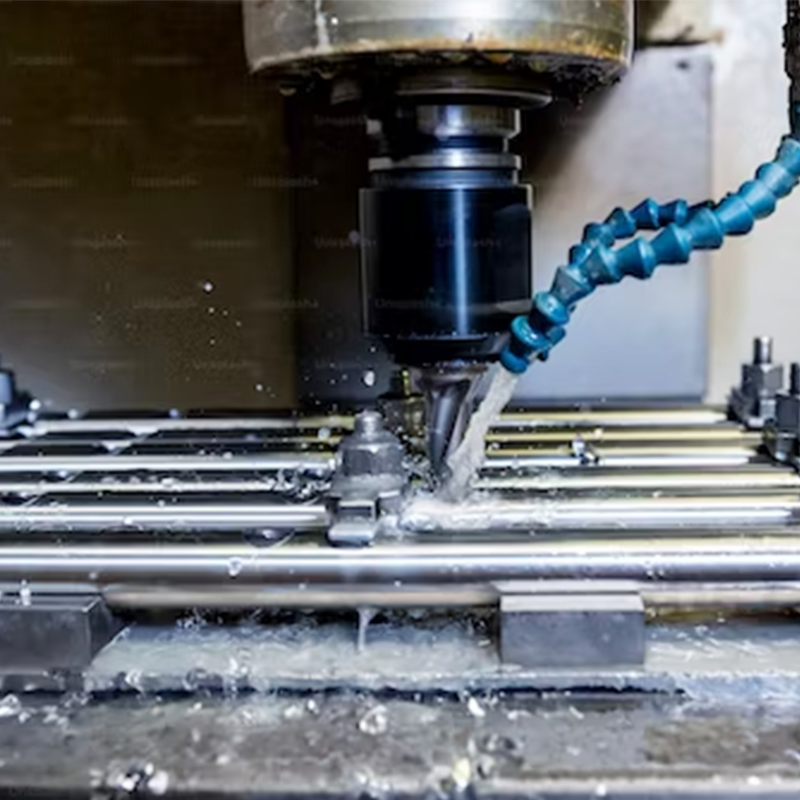
At YJC, a trusted name in CNC machining, we specialize in delivering precision-tolerance parts and prototypes for a wide range of industries. If you seek high-quality machining solutions, our expert team is ready to assist you!