


Features:
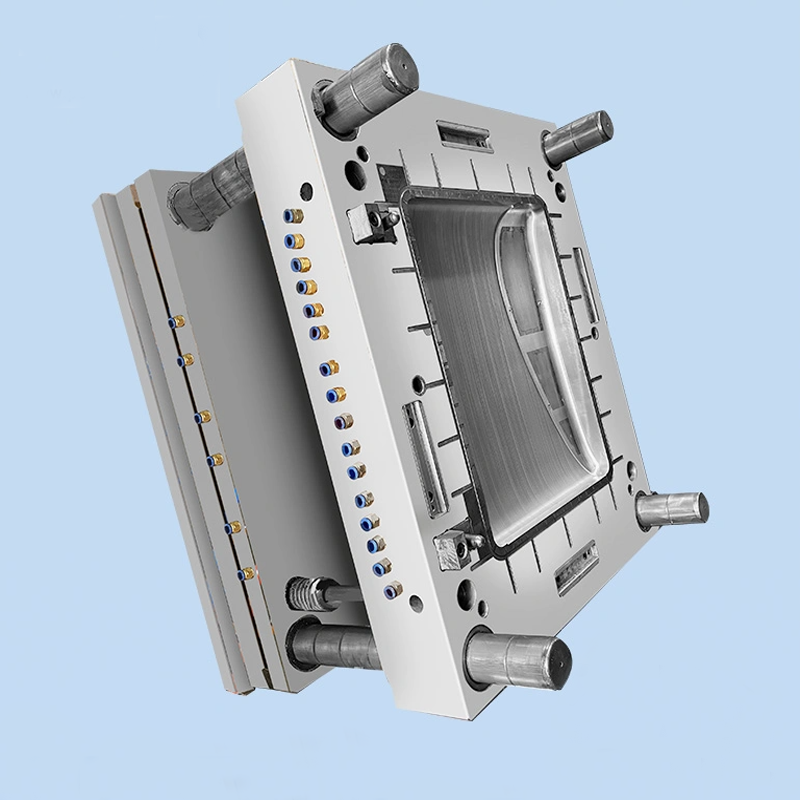
| Attribute | Value |
| Mould Type | Plastic Injection Mold |
| Mould Material | P20/718/738/NAK80/S136 |
| Mould Base | HASCO, DME, MISUMI, JIS, LKM etc |
| Mould Runner | Cold Runner/ Hot Runner |
| Mould Gate | Slide Gate/Sub Gate/Pin-point Gate |
| Cavity | Single / Multi Cavity |
| Designing Software | UG/PROE/CAD/SOLIDWORKS |
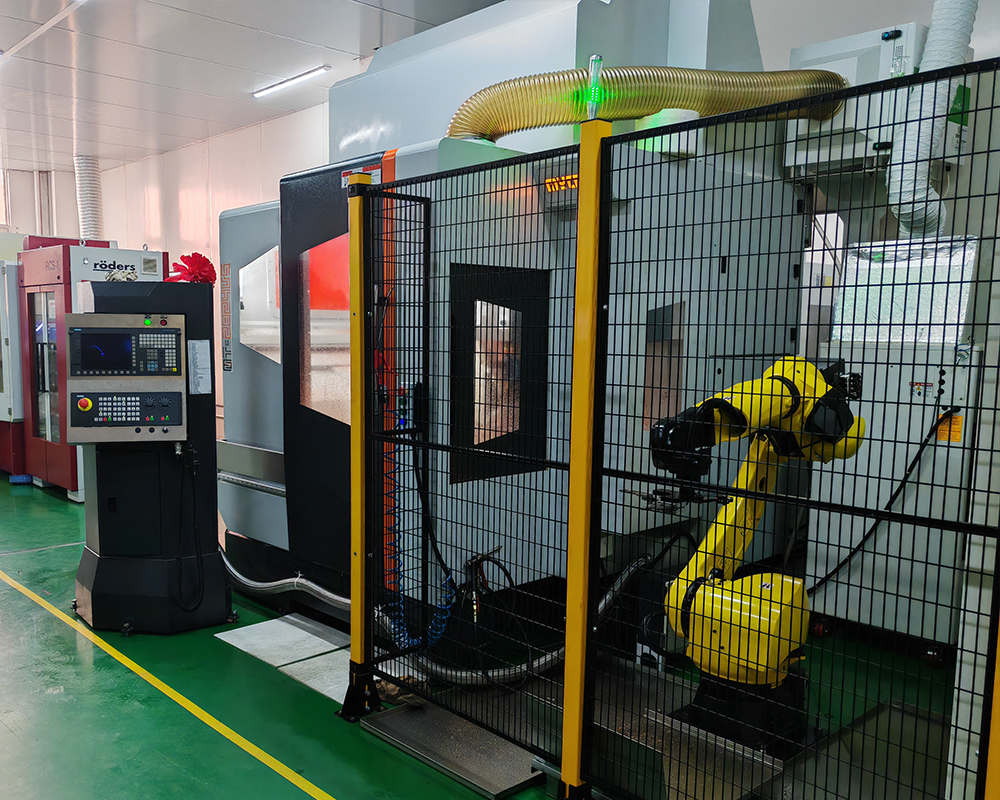
| Moulding equipment | CNC, Wire Cutting, Milling Machine, EDM |
| Raw-material | ABS, PP, PC, PA6, PA66, PVC, POM, PMMA, PS etc |
| Package way | Wooden pallet, carton |
| OEM | Welcome and please offer 2D/3D file or sample |
| Lead time | About 30 days |
Parting Surface Design Considerations
When designing the step parting surface, it is crucial to incorporate an insertion inclination angle of 3 to 5 degrees, with a minimum of 1.5 degrees. This facilitates easier processing and handling, especially when multiple step surfaces are present on a single parting line. Consistency in angle application (angle A) across these surfaces simplifies manufacturing.
Special attention must be paid to ensuring each identical surface has an adequate sealing distance. This distance is vital in preventing the plastic melt from leaking during the injection process. The correct sealing gap is essential for blocking the material effectively. For parting surfaces with significant height differences, such as curved or inclined surfaces, setting a reference plane is necessary to aid in processing and measurement.
Basic Principles of Parting Surface Design
After the mold opens, the molded plastic should remain on the half mold with the ejection mechanism, typically the moving mold. Exceptions are rare, where the ejection mechanism is on the die side.
In cases where plastic products include metal inserts, the shape cavity is generally designed on the movable mold’s side due to the inserts’ lack of shrink wrapping capability. This scenario can complicate the demolding process. Ensuring coaxiality in the design is challenging when structures span both the movable and fixed molds, primarily due to potential manufacturing and assembly errors.
Mold locking requirements must be met, often by placing plastic products at the clamping site of the quantitative mold. This setup can significantly reduce the required locking force. When dealing with a curved parting surface, a positioning mechanism is necessary to maintain the product’s integrity, avoiding any impact on the plastic product’s final shape, particularly if the product includes diamond lines or tangent lines.
Selecting a parting surface that is relatively smooth and free of sharp corners is critical to maintain the quality and shape of the product. Although this isn’t always feasible, it is advisable to minimize potential defects. Additionally, arranging the size and quantity of inner mold inserts should be done judiciously to ensure optimal performance.
Production Process:
- Design and Engineering:
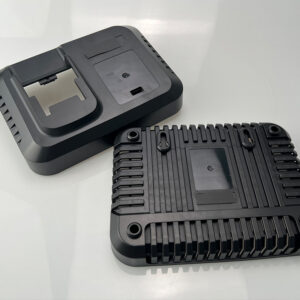
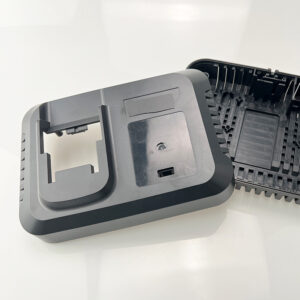
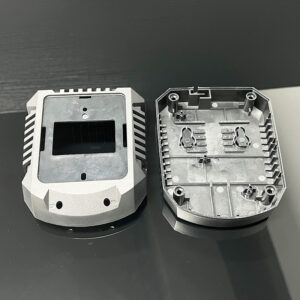
– Conceptualization: Collaborating with the client to understand the specific requirements and design a mold that meets the exact specifications of the auto battery box cover.
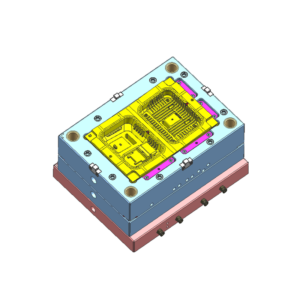
– 3D Modeling: Creating detailed 3D models using computer-aided design (CAD) software to visualize the final product and identify any potential design flaws or areas for optimization.
– Mold Flow Analysis: Conducting a mold flow analysis to simulate the injection process, ensuring proper material flow and identifying potential defects such as warping, sink marks, or air traps.
- Material Selection:
– Material Specification: Selecting high-quality materials for both the mold and the battery box cover, considering factors such as durability, thermal stability, and resistance to wear and tear.
– Mold Steel Selection: Choosing the appropriate steel grade for the mold, ensuring it can withstand the pressures and temperatures of the injection process while maintaining dimensional stability and surface finish.
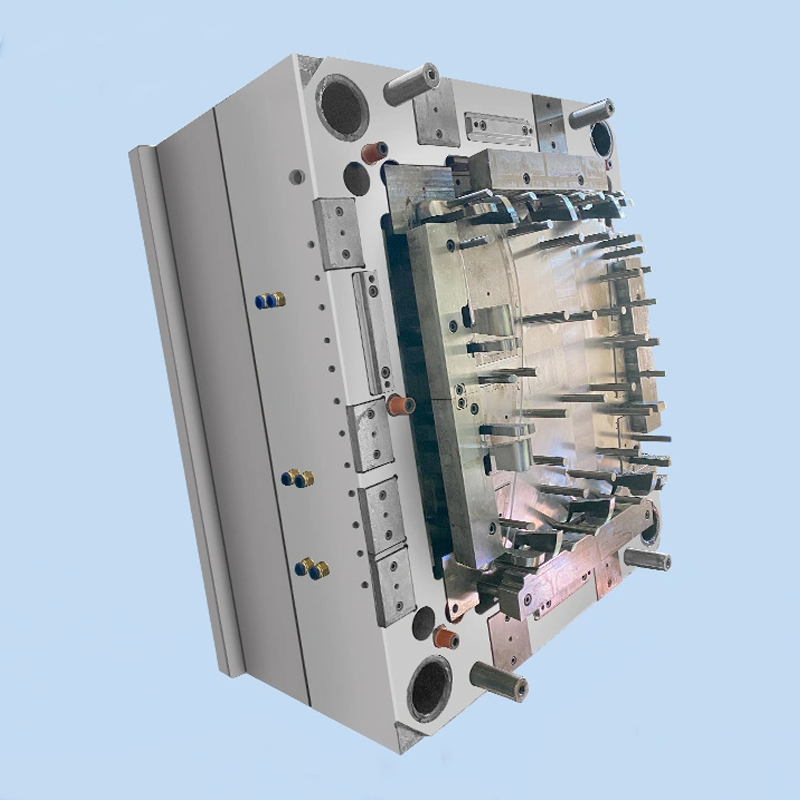
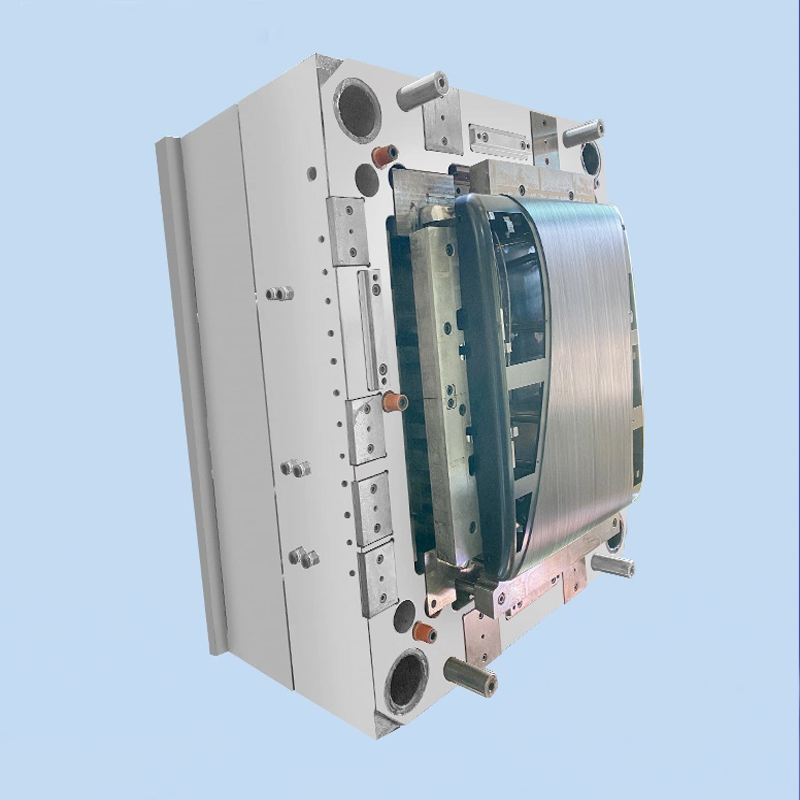
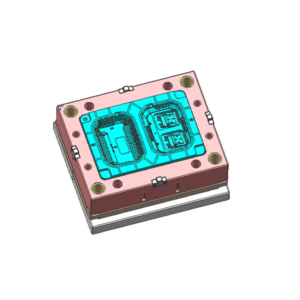
- Mold Manufacturing:
– Precision Machining: Utilizing CNC machining and other precision tools to fabricate the mold components, ensuring accuracy and consistency in dimensions and tolerances.
– Surface Treatment: Applying surface treatments, such as polishing or texturing, to enhance the mold’s performance and achieve the desired surface finish on the final product.
– Assembly: Carefully assembling the mold components, ensuring a perfect fit and alignment to facilitate smooth operation and consistent production.
- Testing and Validation:
– Trial Runs: Conducting initial trial runs to test the mold under real production conditions, identifying any issues and making necessary adjustments to optimize the injection process.
– Quality Inspection: Performing thorough quality inspections on the produced battery box covers, checking for defects, dimensional accuracy, and compliance with the specified design and material properties.
- Production and Maintenance:
– Mass Production: Once validated, the mold is used for mass production of the auto battery box covers, ensuring consistent quality and output.
– Regular Maintenance: Implementing a regular maintenance schedule for the mold, including cleaning, lubrication, and minor repairs, to extend its lifespan and maintain optimal performance.